

Extracting Measurements with Presto Capture
Presto Capture automates the extraction of measurements from ultrasound sonographer worksheets, DEXA worksheets, prior reports, intake forms, and labeled charts, and integrates them into your report. Instead of manually transcribing values, capture a screenshot and let Presto read the measurements for you. For prior reports, intake forms, and labeled charts, Presto also automatically extracts patient age and sex when present.
Step 1: Click the Capture button
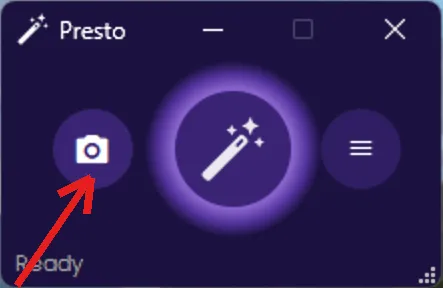
Section titled “Step 1: Click the Capture button”With a report open in PowerScribe and Presto connected, click the camera button on the left side of the Presto widget. This activates region selection mode.
Step 2: Select the measurement area
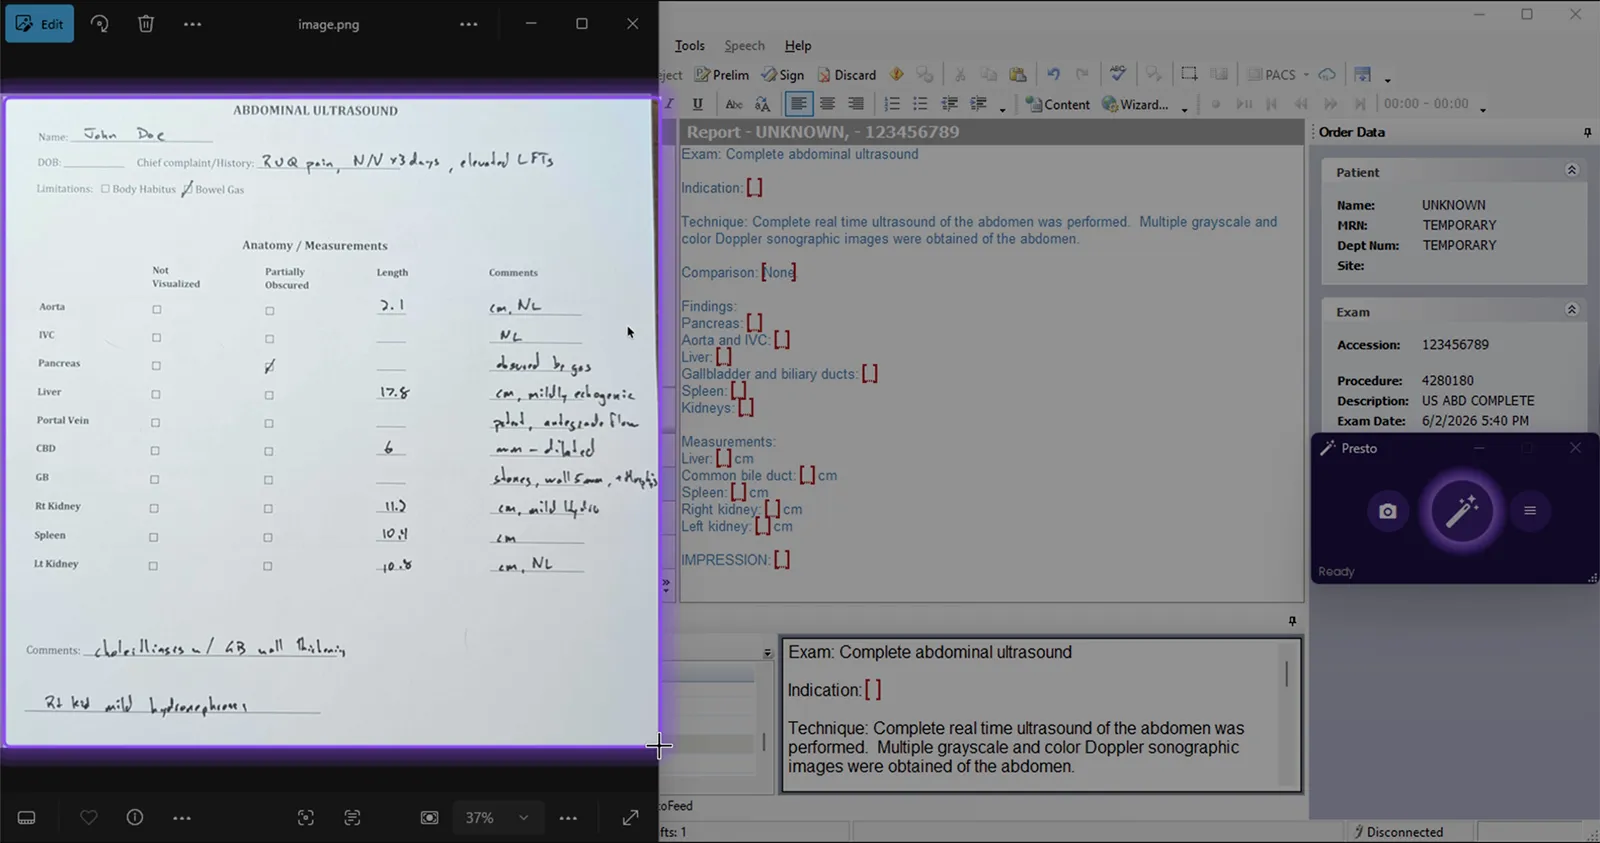
Section titled “Step 2: Select the measurement area”Your screen will dim and the cursor will change to a crosshair. Click and drag to draw a rectangle around the measurements you want to extract — this can be an ultrasound sonographer worksheet, DEXA worksheet, prior report, intake form, labeled chart, or any other on-screen measurement source displayed in your PACS viewer or desktop.
Release the mouse button to complete the selection. Presto captures the selected region and sends it for processing.
Step 3: Review the extracted measurements
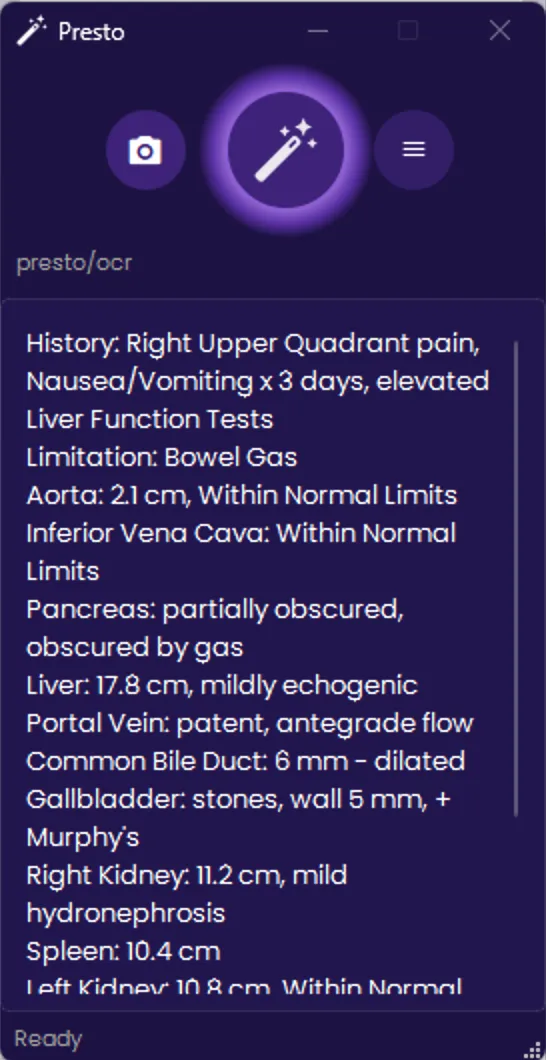
Section titled “Step 3: Review the extracted measurements”After a few seconds, the extracted measurements appear in the Presto widget as a new finding. Each measurement is listed on its own line with its value and unit preserved exactly as shown on the source document.
Step 4: Merge into your report
Section titled “Step 4: Merge into your report”Click the merge button (or the shortcut on your microphone or keyboard shortcut) to merge the extracted measurements into your report, just like any other finding. Presto routes each measurement into the appropriate template field.
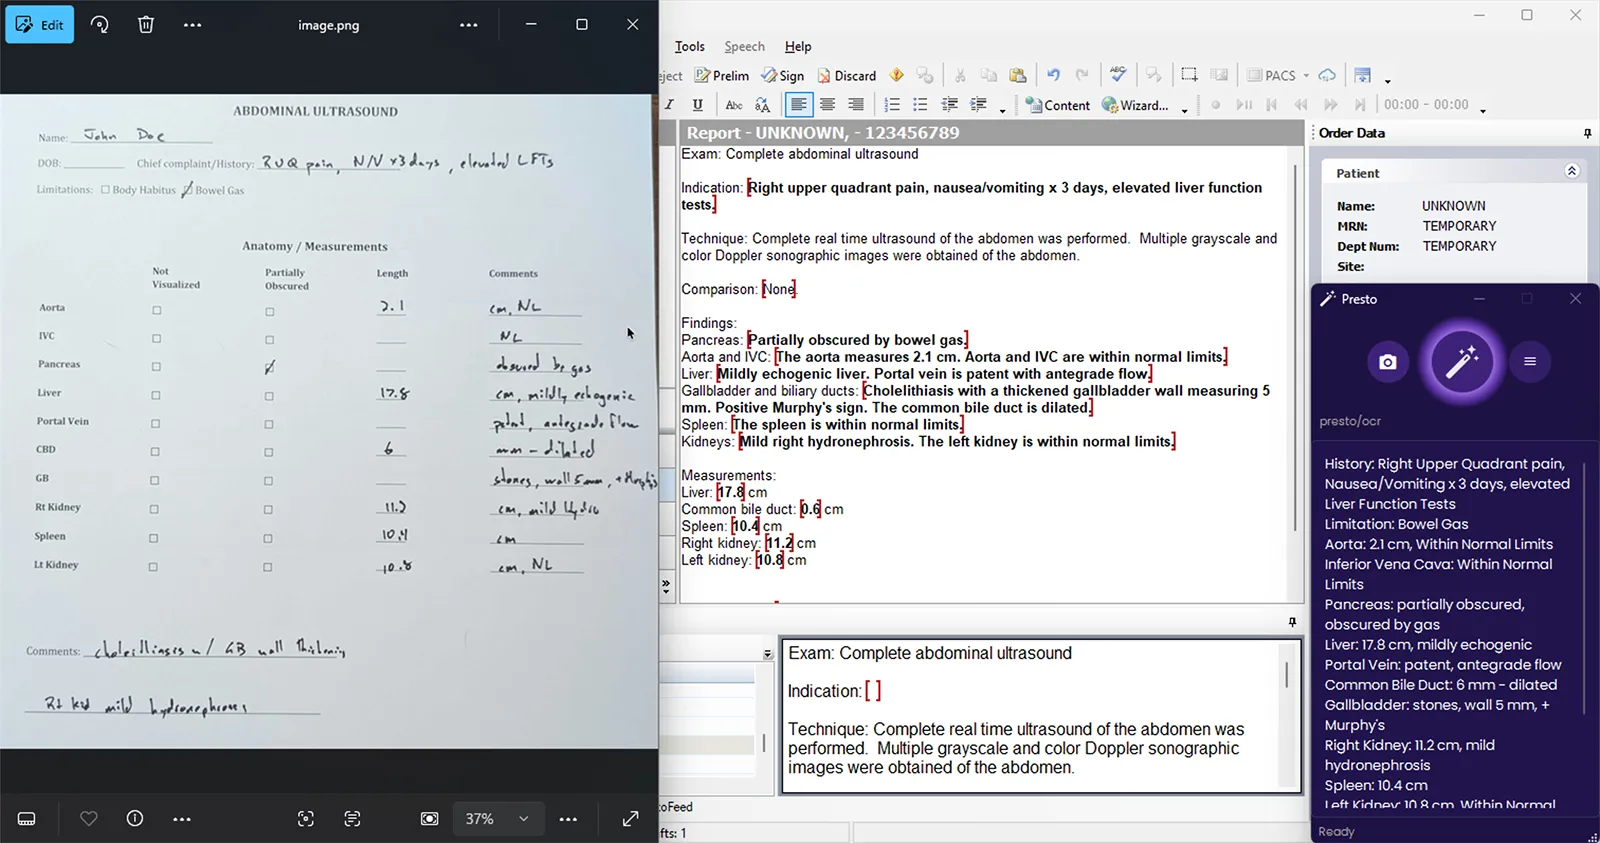
If Auto Merge is enabled, Capture findings merge automatically once Capture completes — no click required.
Other capture modes
Section titled “Other capture modes”The camera button is a split button: click the small caret on its bottom-right corner (or right-click the camera) to open the capture-options menu.
- Capture Region — Click and drag to select a rectangular area (the default, described above).
- Capture Window — Hover over any application window to highlight it, then click to capture the entire window contents.
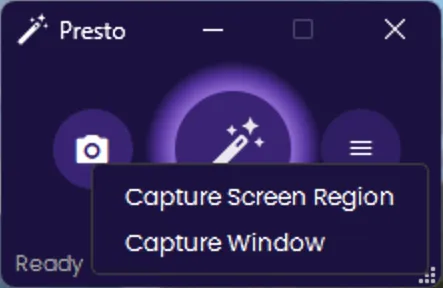
Window mode is useful when the measurements fill an entire application window and you want to capture everything without drawing a selection box.
Once you have captured at least one area this session, two more items appear in the menu:
- Repeat Last Area — Re-grab the last captured area without re-selecting it.
- Clear Last Area — Forget the remembered area, so the next capture starts fresh.
Adaptive default: reusing your last capture
Section titled “Adaptive default: reusing your last capture”After your first capture, a normal click on the camera button reuses your last capture instead of always starting over:
- If your last capture was a region, the selection box opens pre-filled with that region — press to accept it, or drag to redraw.
- If your last capture was a window, Presto re-grabs it silently — there is no selection overlay, just a brief purple confirmation flash around the captured window.
This makes repeated captures of the same worksheet or window a single click. The remembered area lasts for your current session only and is cleared automatically when you sign out or hand off the workstation to another user (or anytime you choose Clear Last Area).