

Installing Presto
This guide takes you from nothing installed to Presto running alongside PowerScribe on your workstation. You only do this once. Budget about ten minutes, most of which is waiting for an email.
Step 1: Sign in to Presto
Section titled “Step 1: Sign in to Presto”Go to app.presto.run and click Sign In in the top right.

Step 2: Get your sign-in code
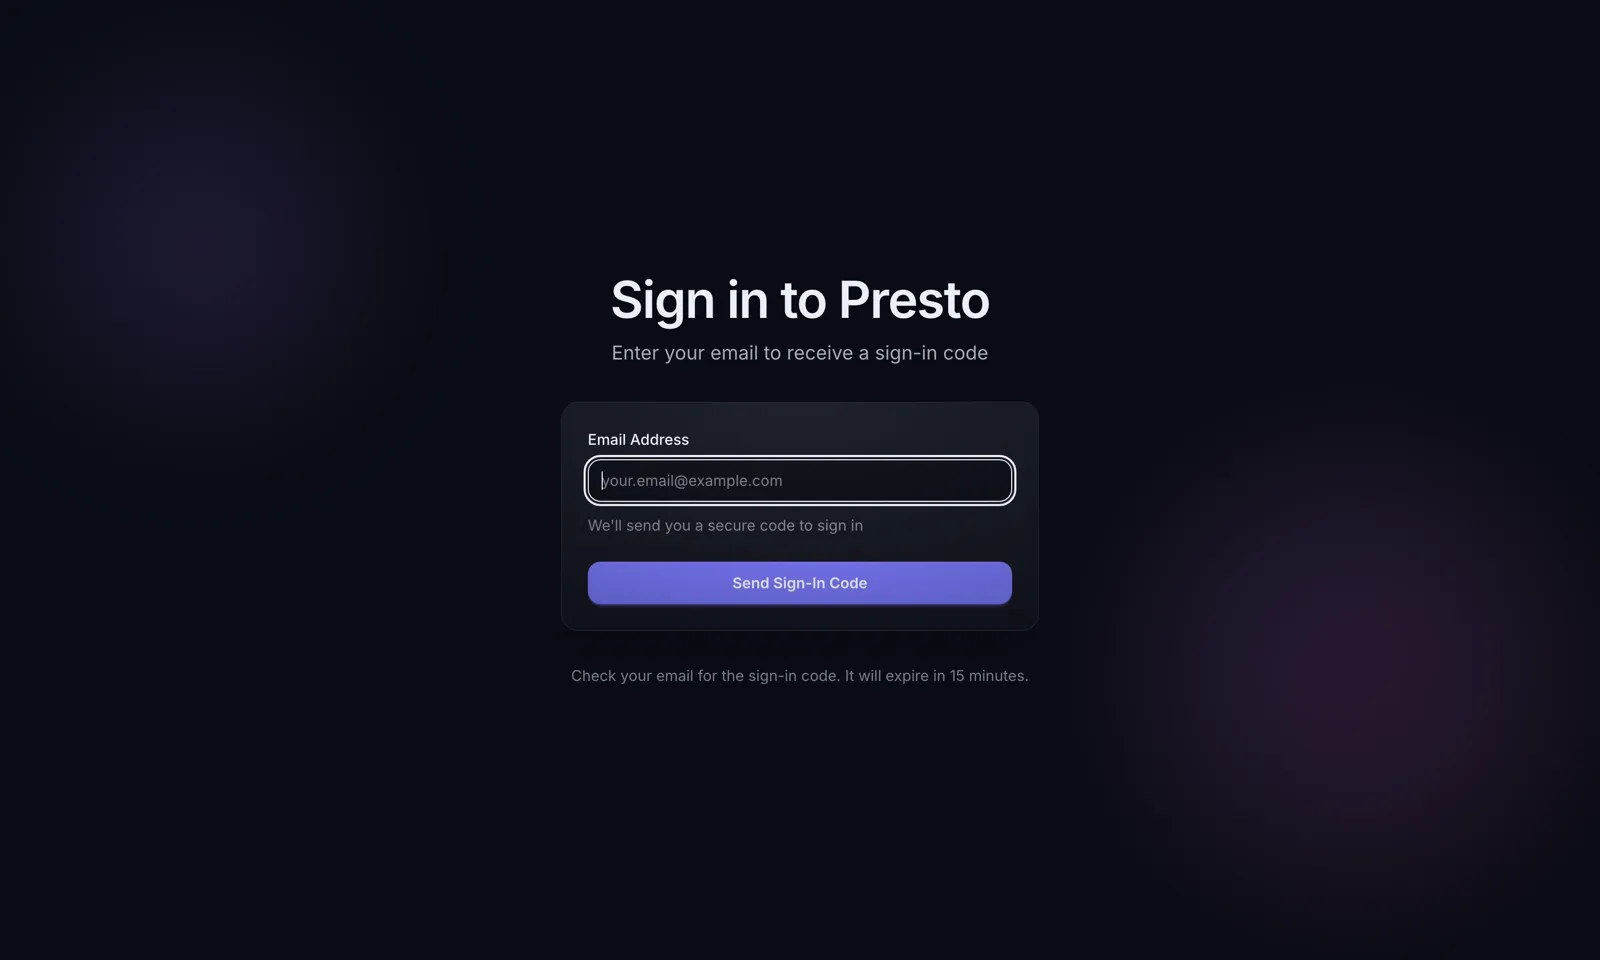
Section titled “Step 2: Get your sign-in code”Presto has no password. You sign in with a code sent to your email.
Enter your email address and click Send Sign-In Code. Check your inbox, then type the code in and click Verify Code.
Step 3: Go to your dashboard
Section titled “Step 3: Go to your dashboard”Once you are signed in, click Go to Dashboard.

Step 4: Download the Windows app
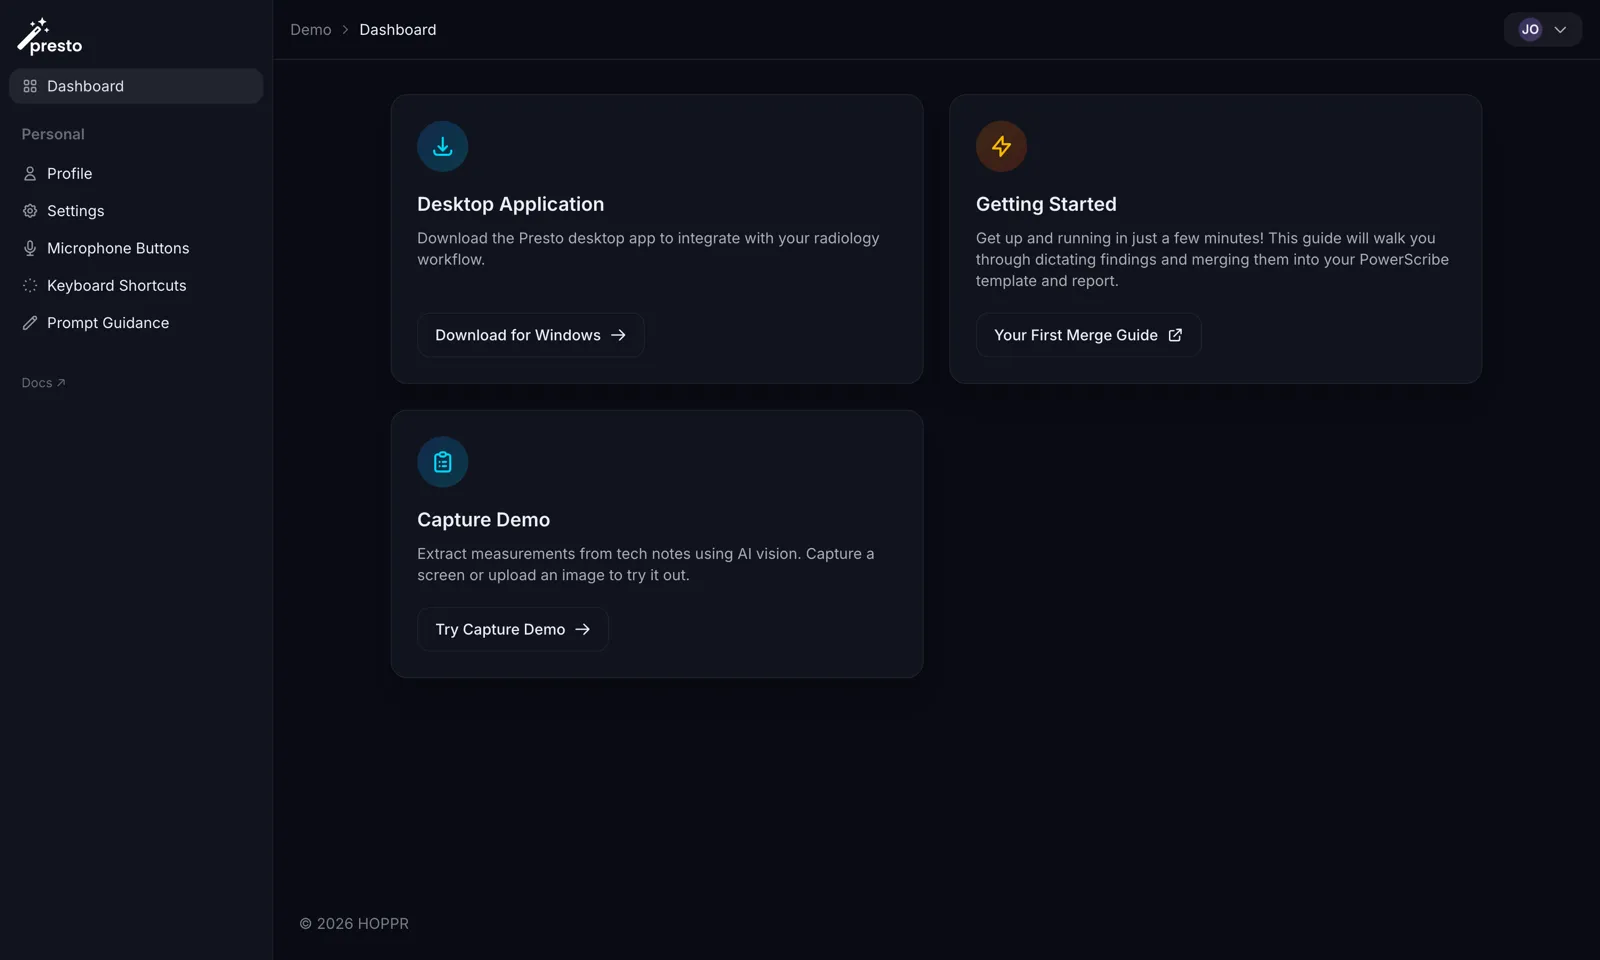
Section titled “Step 4: Download the Windows app”On the dashboard, find the Desktop Application card and click Download for Windows.
Step 5: Run the installer
Section titled “Step 5: Run the installer”Open the file you downloaded, Presto-Setup.exe, and click through the installer.
Presto installs to your own user folder and does not need administrator rights, so you should not see a prompt for an admin password. By default it adds a desktop shortcut, starts automatically when you log in, and keeps itself updated.
Step 6: Launch PowerScribe and link your account
Section titled “Step 6: Launch PowerScribe and link your account”Start PowerScribe as you normally would. Presto is already running in the background.
The first time, Presto opens your browser and asks you to sign in once more, with the same email-and-code steps from Step 2. This is what connects your Presto account to your PowerScribe account, and it only happens once.
When the browser shows “Authentication successful! You can close this window.”, close the tab and go back to PowerScribe.
What’s next
Section titled “What’s next”You are set up. The next thing to do is a merge:
- Your first AI-assisted merge — dictate findings and let Presto route them into your template and write the impression.
- Set up your microphone buttons — trigger a merge from your PowerMic instead of the keyboard.